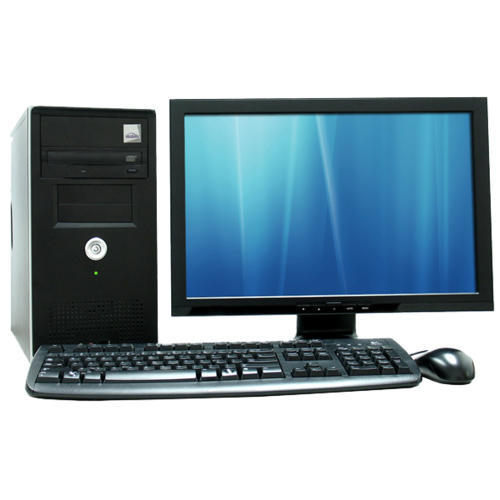
For Windows 2000 Professional, the hardware
requirements are:
- 133 MHz or higher Pentium-compatible processor
- 32MB of RAM minimum(64MB recommended; 4GB
maximum)
- 2GB hard drive with a minimum of 650 MB of free
space(Additional free hard disk space is required if you are installing
over a network).
- Windows 2000 Professional supports up to 2
processors.
For Windows 2000 Server the hardware
requirements are:
- 133 MHz+ Pentium-compatible CPU.
- 128 MB of RAM minimum (256 MB recommended; 4 GB
maximum).
- 2 GB hard disk with a minimum of 1.0 GB free
space. (Additional free hard disk space is required if you are installing
over a network.)
- Windows 2000 Server supports up to four CPUs.
Before beginning any installation, you
should check the Hardware Compatibility List(HCL) at Microsoft's website to
make sure that your components are supported. If you have items that do not
appear on the list, you should contact the manufacturer to see if they have
updated drivers.
If you have a computer that will boot from the CD, then this is probably the way to go, otherwise you will be creating 4 setup disks using the makeboot.exe utility on the installation CDROM. Just like the NT 4.0 installation, we will start with the text based portion of the setup. You will be presented with an option to press enter to install Windows 2000. After you press enter you will read the license agreement and press F8 to accept. You will now be presented with a list of all of the disks and partitions that are on the system. Like NT 4 installation, you will have the option to create a new partition or select an existing one to install onto. Press C and you will arrive at the option to select NTFS, FAT or leave it the way it is. Files will be copied to your disk. After a reboot, the GUI based portion of setup will begin.
Windows 2000 is Plug and Play. The first portion of the GUI setup will detect your hardware and install drivers for it. Next you will have the option to select the locale for the computer. Then you will enter your name and orginization followed by the license key. After you click next you will be prompted for the licensing mode and will have the option of per seat or per server. Next, you will enter the computer's name and an Administrative password. Now you will see a list of services that you can choose to install. This will obviously vary depending on which services you will need to use on your network. Now you will be prompted to enter the date and time zone. The services that you selected in the previous step will now be installed. Now you will have the option to select whether you want typical network settings or want to specify custom settings and configure them accordingly. Now the install will finish and the machine will be rebooted.
Listed below are the possible upgrade paths: (There is no direct upgrade path from Windows 3.x )
Current OS:
|
Upgrade to:
|
Windows 95
|
Windows 2000 Professional
|
Windows 98
|
Windows 2000 Professional
|
Windows NT Workstation
|
Windows 2000 Professional
|
Windows NT Server
|
Windows 2000 Server
|


0 Comments